There's a certain pride of ownership that comes with a Smokin' Ugly drum smoker.
Unlike with a pre-assembled grill or smoker from a big-box retailer, you can point to your Smokin' Ugly and tell admirers or the curious that you built it. And that only gets better when you're serving a dish you prepared on the drum smoker you built from scratch.
But getting to that point does mean you'll need to actually construct your DIY smoker.
The good news – all Smokin' Ugly accessory kits come with a complete set of easy-to-follow instructions. However, there's something to be said for the wisdom of experience. A few pointers go a long way in completing any project.
To that end, we've put together this overview – complete with a few tips and tricks – to help you build your new Smokin' Ugly barrel smoker and get to preparing BBQ dishes of all sorts faster.
Building Your Smokin’ Ugly Drum Smoker
All ugly drum smokers start with the same component – a food-grade 55-gallon drum. After procuring yours (we suggest checking Runnings, McMaster Carr, U-line, Ebay, etc.), there's a small laundry list of items you'll need to fashion your own Smokin' Ugly.
Tools & Accessories
Though there are plenty of tools and accessories you can use to build your ugly drum smoker, at a minimum you'll need:
Tools:
- Pencil or marker
- Step drill bit
- Adjustable wrench or 7/16” wrench
- A cutting tool, be it a jigsaw, oscillating multi-purpose tool, or tin snips
Accessories (click on each ugly drum smoker kit to download instructions):
- Spring-assisted hinge (single & double)
- Latch handle kit
- Charcoal basket kit
- Charcoal chute kit
- Inlet vent and exhaust vent kit
- Grill grate and utensil hook kit
Putting Hammer to Nail (So to Speak)
This is where the fun begins.
When it comes time to assemble your Smokin' Ugly, the #1 piece of advice we can offer: be patient and be methodical (yes, you read that correctly). Both patience and paying particular attention to detail make for a much smoother building experience and ensure a sturdy and well-functioning finished product.
Regardless of your skill level, building your Smokin’ Ugly will take some time – plan on making an afternoon of it.
A few tips and tricks:
- The most basic but overlooked tip is to follow the instructions for putting together and installing each Smokin' Ugly component. As with any other "some assembly required" thing, it's best not to put your engineering acumen to the test.
- A step drill bit makes a big difference in saving you time. Because our drum smoker accessories require various hole sizes, a step drill allows you to bore holes of varying diameters without having to change bits.
- Test fit everything before affixing it to the drum. There's nothing more frustrating than doing the work to ready your drum for a piece only to find it doesn't fit. Adjustments are easier to make when you know what you're working with.
- Make cuts and drill holes before painting the drum with high heat-resistant paint. This is more for aesthetics than anything, but you can't damage a paint job if a fresh coat wasn't put on in the first place.
- Speaking of painting – only paint the outside of your smoker. The last thing you want is to smoke a cut of meat or dish with toxic burnt paint fumes.
- Build on a steady location. This is no different than any other small assembly project. Working on a wobbly surface/unsteady location only increases margins for error and frustration.
- Find the optimal spot. Your Smokin’ Ugly deserves a place of honor – one that's functional and safe. When selecting your DIY meat smoker's home, make sure it's a level spot that's far enough away from buildings and won't be a hazard to passersby.
- Get an extra set of hands. As the adage goes, "Many hands make for light work." This indeed applies to building your own drum smoker. Having a helper makes for a faster, more efficient build, and may reduce accidents and mistakes.
Resource: Have a few questions? Check out our article: DIY Smoker: Smokin’ Ugly FAQ.
Readying Your Ugly Drum Smoker for its First Use
Seasoning an ugly drum smoker is a crucial step for achieving the best possible flavor. It’s a very simple process, but one that requires careful attention and patience. In a sense, it's no different than seasoning a cast-iron pan.
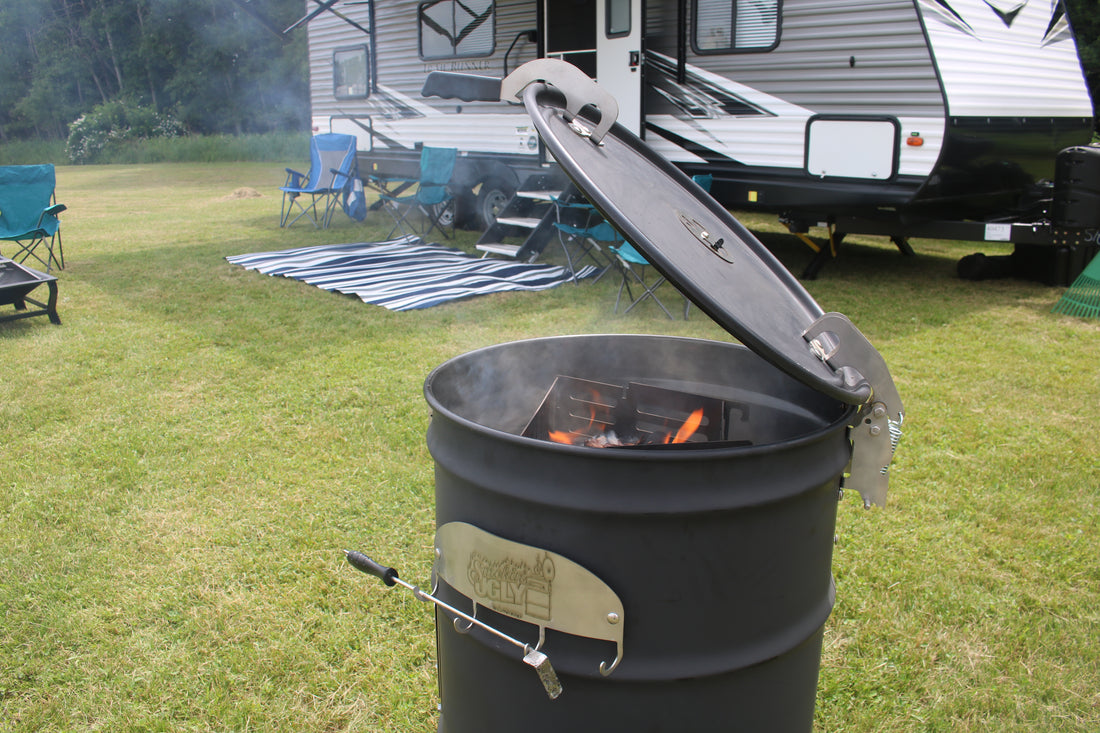
With all the barrel smoker components in place, it’s quite literally time to fire up your smoker. Of note: seasoning your smoker is not an opportunity to cook – that will come in due time. Rather the seasoning process is meant as a test of sorts to make sure the smoker is ready for use and to burn off any impurities inside the barrel.
Seasoning your drum smoker is simple, yet time-consuming.
To prepare your smoker for future use:
- Load up the charcoal basket with wood or charcoal
- Open all the air vents to their maximum setting
- Ignite the fuel source
- Let it burn for several hours
After the burn is complete, inspect the barrel and meat smoking accessories, making sure everything – from the hinge to the vents – is in working order.
It’s important to note you may need to re-season your drum smoker periodically throughout its lifetime. This helps ensure that it remains in good condition and continues producing delicious smoky flavors with every use. Additionally, if you notice any discoloration on your grates after you have seasoned them – such as dark spots or discolored areas – then immediately clean them off with water and a soft brush before proceeding with further seasoning procedures.
Get Smoking With Your Smokin' Ugly
Now that you've put the time and effort into building your own Smokin' Ugly, it's time to start enjoying all of its benefits.
With a drum smoker that's always ready, the possibilities for great BBQ are endless – from slow-roasting whole chickens to smoking tender pork shoulders, juicy beef briskets, and so much more.
One final tip – next to having a drum smoker you're proud of, the key to smoking delicious food is patience and a slow and steady cook.